
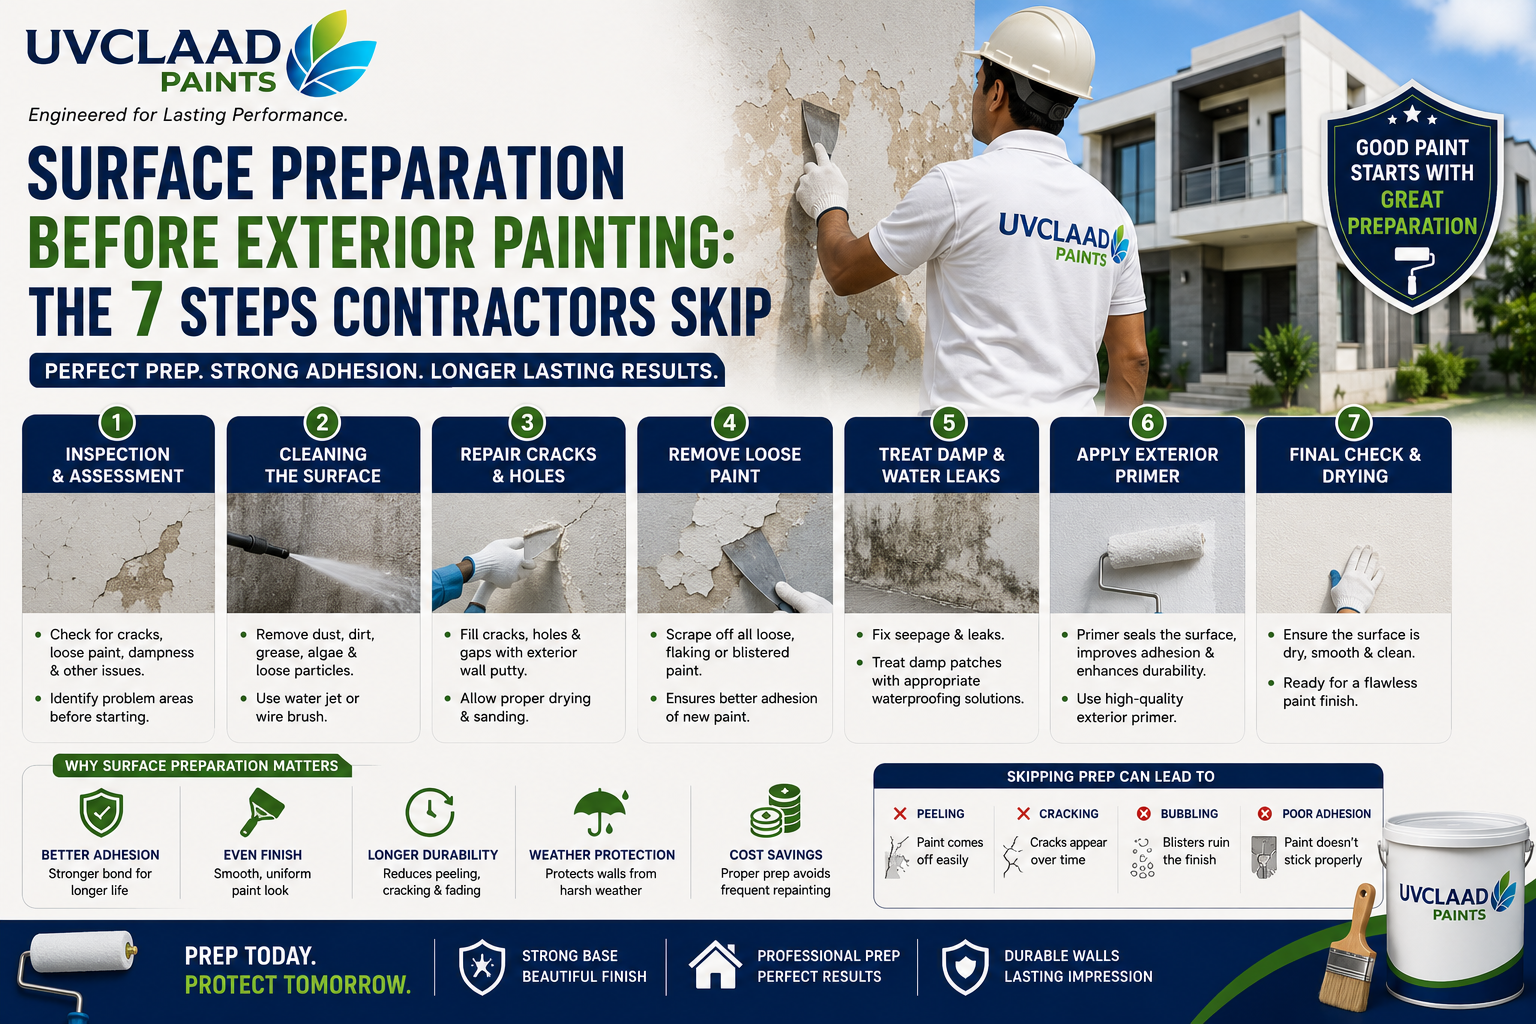
Ask any experienced painter what decides whether a job lasts and you will get the same answer, usually with some irritation attached: the wall, not the paint.
Surface preparation is unglamorous, unbillable at premium rates, and invisible in the finished result. It is also where roughly eighty percent of exterior paint failures originate.
Why Prep Decides the Outcome
Paint performance depends on three things: the product, the film thickness achieved, and the bond to the substrate.
You can buy the best product available and apply it at perfect thickness, and if the bond fails, none of it matters. Adhesion is the weakest link, and preparation is entirely what determines it.
This is also why the “which brand is best” question is less important than most buyers think. A mid-range paint on a properly prepared wall routinely outlasts a premium paint on a badly prepared one.
Step 1: Assess Moisture Content
Before anything else, establish whether the wall is dry.
A moisture meter is ideal, and readings should be below about 16 percent before coating. Most sites do not have one, so use the plastic sheet test: tape a 300 mm square of clear plastic tightly to the wall on all four edges and leave it 24 hours. Condensation underneath, or a darkened patch of wall, means residual moisture.
New plaster needs 21 to 28 days of curing. After heavy rain, allow three to five clear days. After washing, two to three.
Everything below is wasted if this step is skipped.
Step 2: Remove Loose and Flaking Material
Scrape all loose, flaking or blistered paint back to a firmly adhered edge. Use a scraper first, then a wire brush.
Tap the plaster with a knuckle or a small hammer as you go. A hollow sound means the plaster has debonded from the masonry behind. That area must be cut out and re-plastered, not painted over. Painting hollow plaster buys you one season.
Feather the edges of scraped areas so the transition between old paint and bare substrate is not visible as a ridge after coating.
Step 3: Wash Down Dirt, Algae and Chalk
Wash the full elevation, not just the repaired areas.
Work from the bottom upward. This sounds counterintuitive, but washing downward lets dirty water run over dry wall below and leave streaks that are hard to remove.
For chalking surfaces, keep washing until the rinse water runs clear. Test with the hand method afterwards. If powder still comes off, wash again.
A pressure washer is useful on chalking and general dirt. Keep it at moderate pressure and avoid it entirely on old or friable plaster, where it will do damage.
Step 4: Treat Biological Growth
Algae, fungus and lichen need chemical treatment, not just washing.
Dry brush the loose growth first, then apply a biocidal wash, either a proprietary fungicidal solution or dilute sodium hypochlorite at roughly one part bleach to four parts water. Leave it 15 to 20 minutes, scrub, then rinse thoroughly.
Stubborn lichen usually needs two or three applications. Allow three to four dry days afterwards.
Step 5: Fill Cracks and Level
Rake cracks into a shallow V section, dust out thoroughly, then fill according to type. Acrylic filler for static cracks under 1.5 mm, flexible sealant with mesh tape for moving joints, polymer-modified mortar for larger repairs.
Apply exterior-grade putty only where the surface needs levelling. Two thin coats sanded between beats one thick coat.
Sand flush and then dust off completely. Putty and sanding dust left on the wall is one of the more common reasons primer fails to bond properly.
Step 6: Allow Full Drying
Every wet process above needs its drying time before the next stage.
| Process | Drying time before next step |
|---|---|
| New plaster curing | 21-28 days |
| After general washing | 2-3 days |
| After biocidal treatment | 3-4 days |
| Crack filling and mortar repair | 3-7 days |
| Putty coat | 6-8 hours per coat |
| Primer | 6-8 hours |
Compressing these to finish faster is the single most common site compromise, and it is the one most likely to show up as a failure two years later.
Step 7: Mask and Protect
Cover windows, grilles, railings, doors, floor and any adjacent finished surfaces before opening paint.
This is not just about neatness. Exterior emulsion overspray on glass and anodised aluminium is genuinely difficult to remove once cured, and the cleanup labour costs more than the masking tape did.
Also protect plants at the wall base and cover any drainage openings.
The Checks to Do Before Opening the Paint
- Wall passes the plastic sheet moisture test
- No hollow-sounding plaster remains
- Hand test comes back clean, no chalk
- No visible algae, fungus or lichen
- All cracks filled, sanded and dust-free
- Weather forecast clear for the next 24 to 48 hours
- Correct primer on site, not a general-purpose substitute
- Thinning ratio confirmed from the technical data sheet
Running through that list takes fifteen minutes. It is the highest-return fifteen minutes in the entire project.
Frequently Asked Questions
How do I prepare an exterior wall for painting?
Check the wall is dry, remove loose and flaking paint, wash off dirt and chalk, treat any algae or fungus with a biocidal wash, fill cracks and level with exterior putty, allow full drying, then mask surrounding surfaces before priming.
How long should new plaster cure before painting?
Twenty-one to twenty-eight days. Fresh cement plaster is strongly alkaline, and that alkalinity chemically breaks down emulsion paint binders. The curing period allows carbonation to neutralise the surface.
Do I need to wash the wall before painting?
Yes, the full elevation rather than just repaired sections. Dust, chalk, pollution residue and algae all act as release layers that prevent the new paint bonding to the wall. Wash from the bottom upward to avoid streaking.
What happens if I skip surface preparation?
The paint bonds to loose material rather than the wall and typically fails within one or two seasons, showing as peeling, flaking or blistering. Around eighty percent of exterior paint failures trace back to inadequate preparation.
How do I check if a wall is dry enough to paint?
Tape a clear plastic square tightly to the wall on all four edges and leave it 24 hours. Condensation underneath or a darkened patch of wall means residual moisture. A moisture meter reading below about 16 percent is the professional standard.